Getting started with GiraffeTools
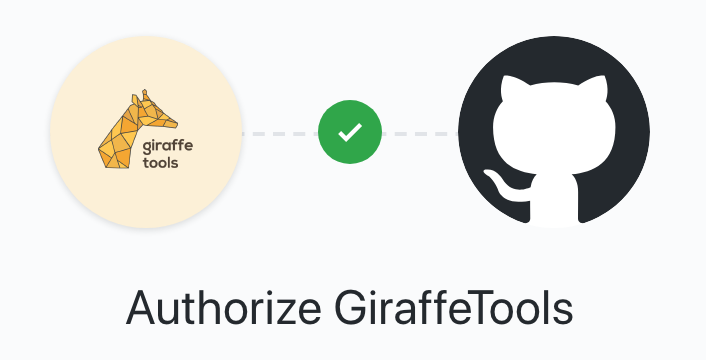
To start your GiraffeTools journey, simply login to GiraffeTools with your GitHub account and authorise GiraffeTools.
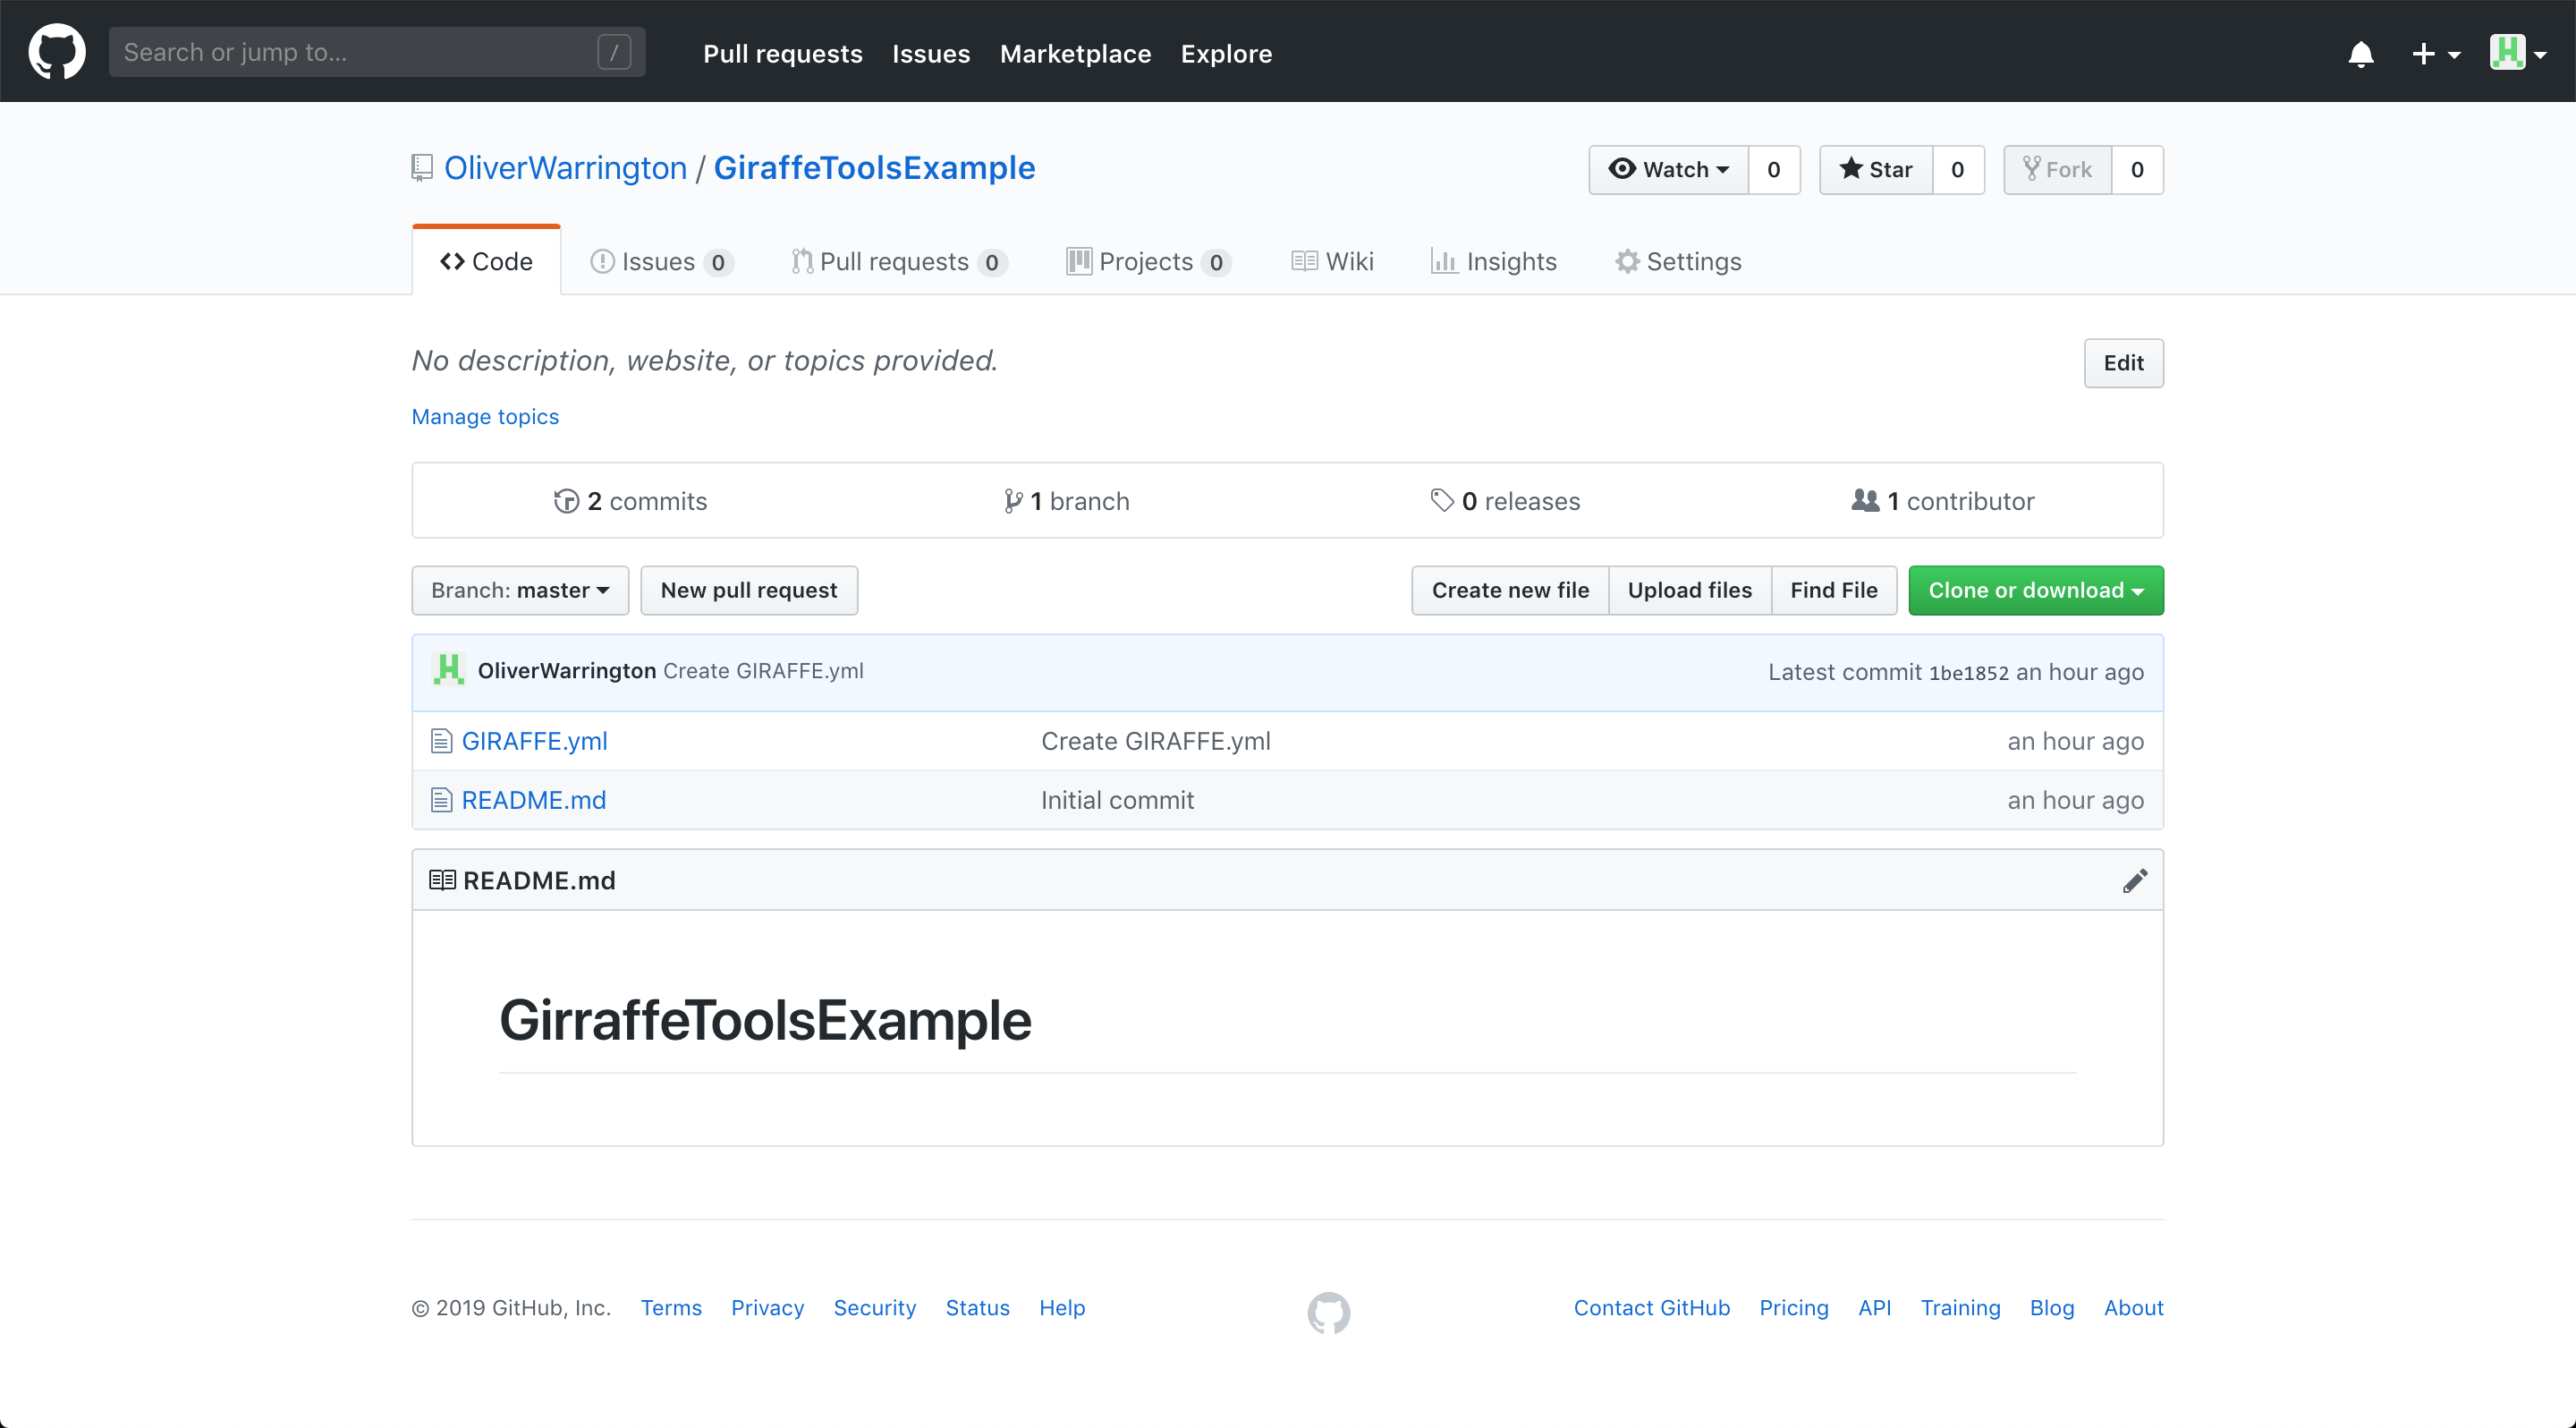
Any repository containing a GIRAFFE.yml file in the root, can automatically be
opened as a GiraffeTools project. Below you can see a repository named “GiraffeToolsExample”
with nothing but an empty GIRAFFE.yml file and a README.md.
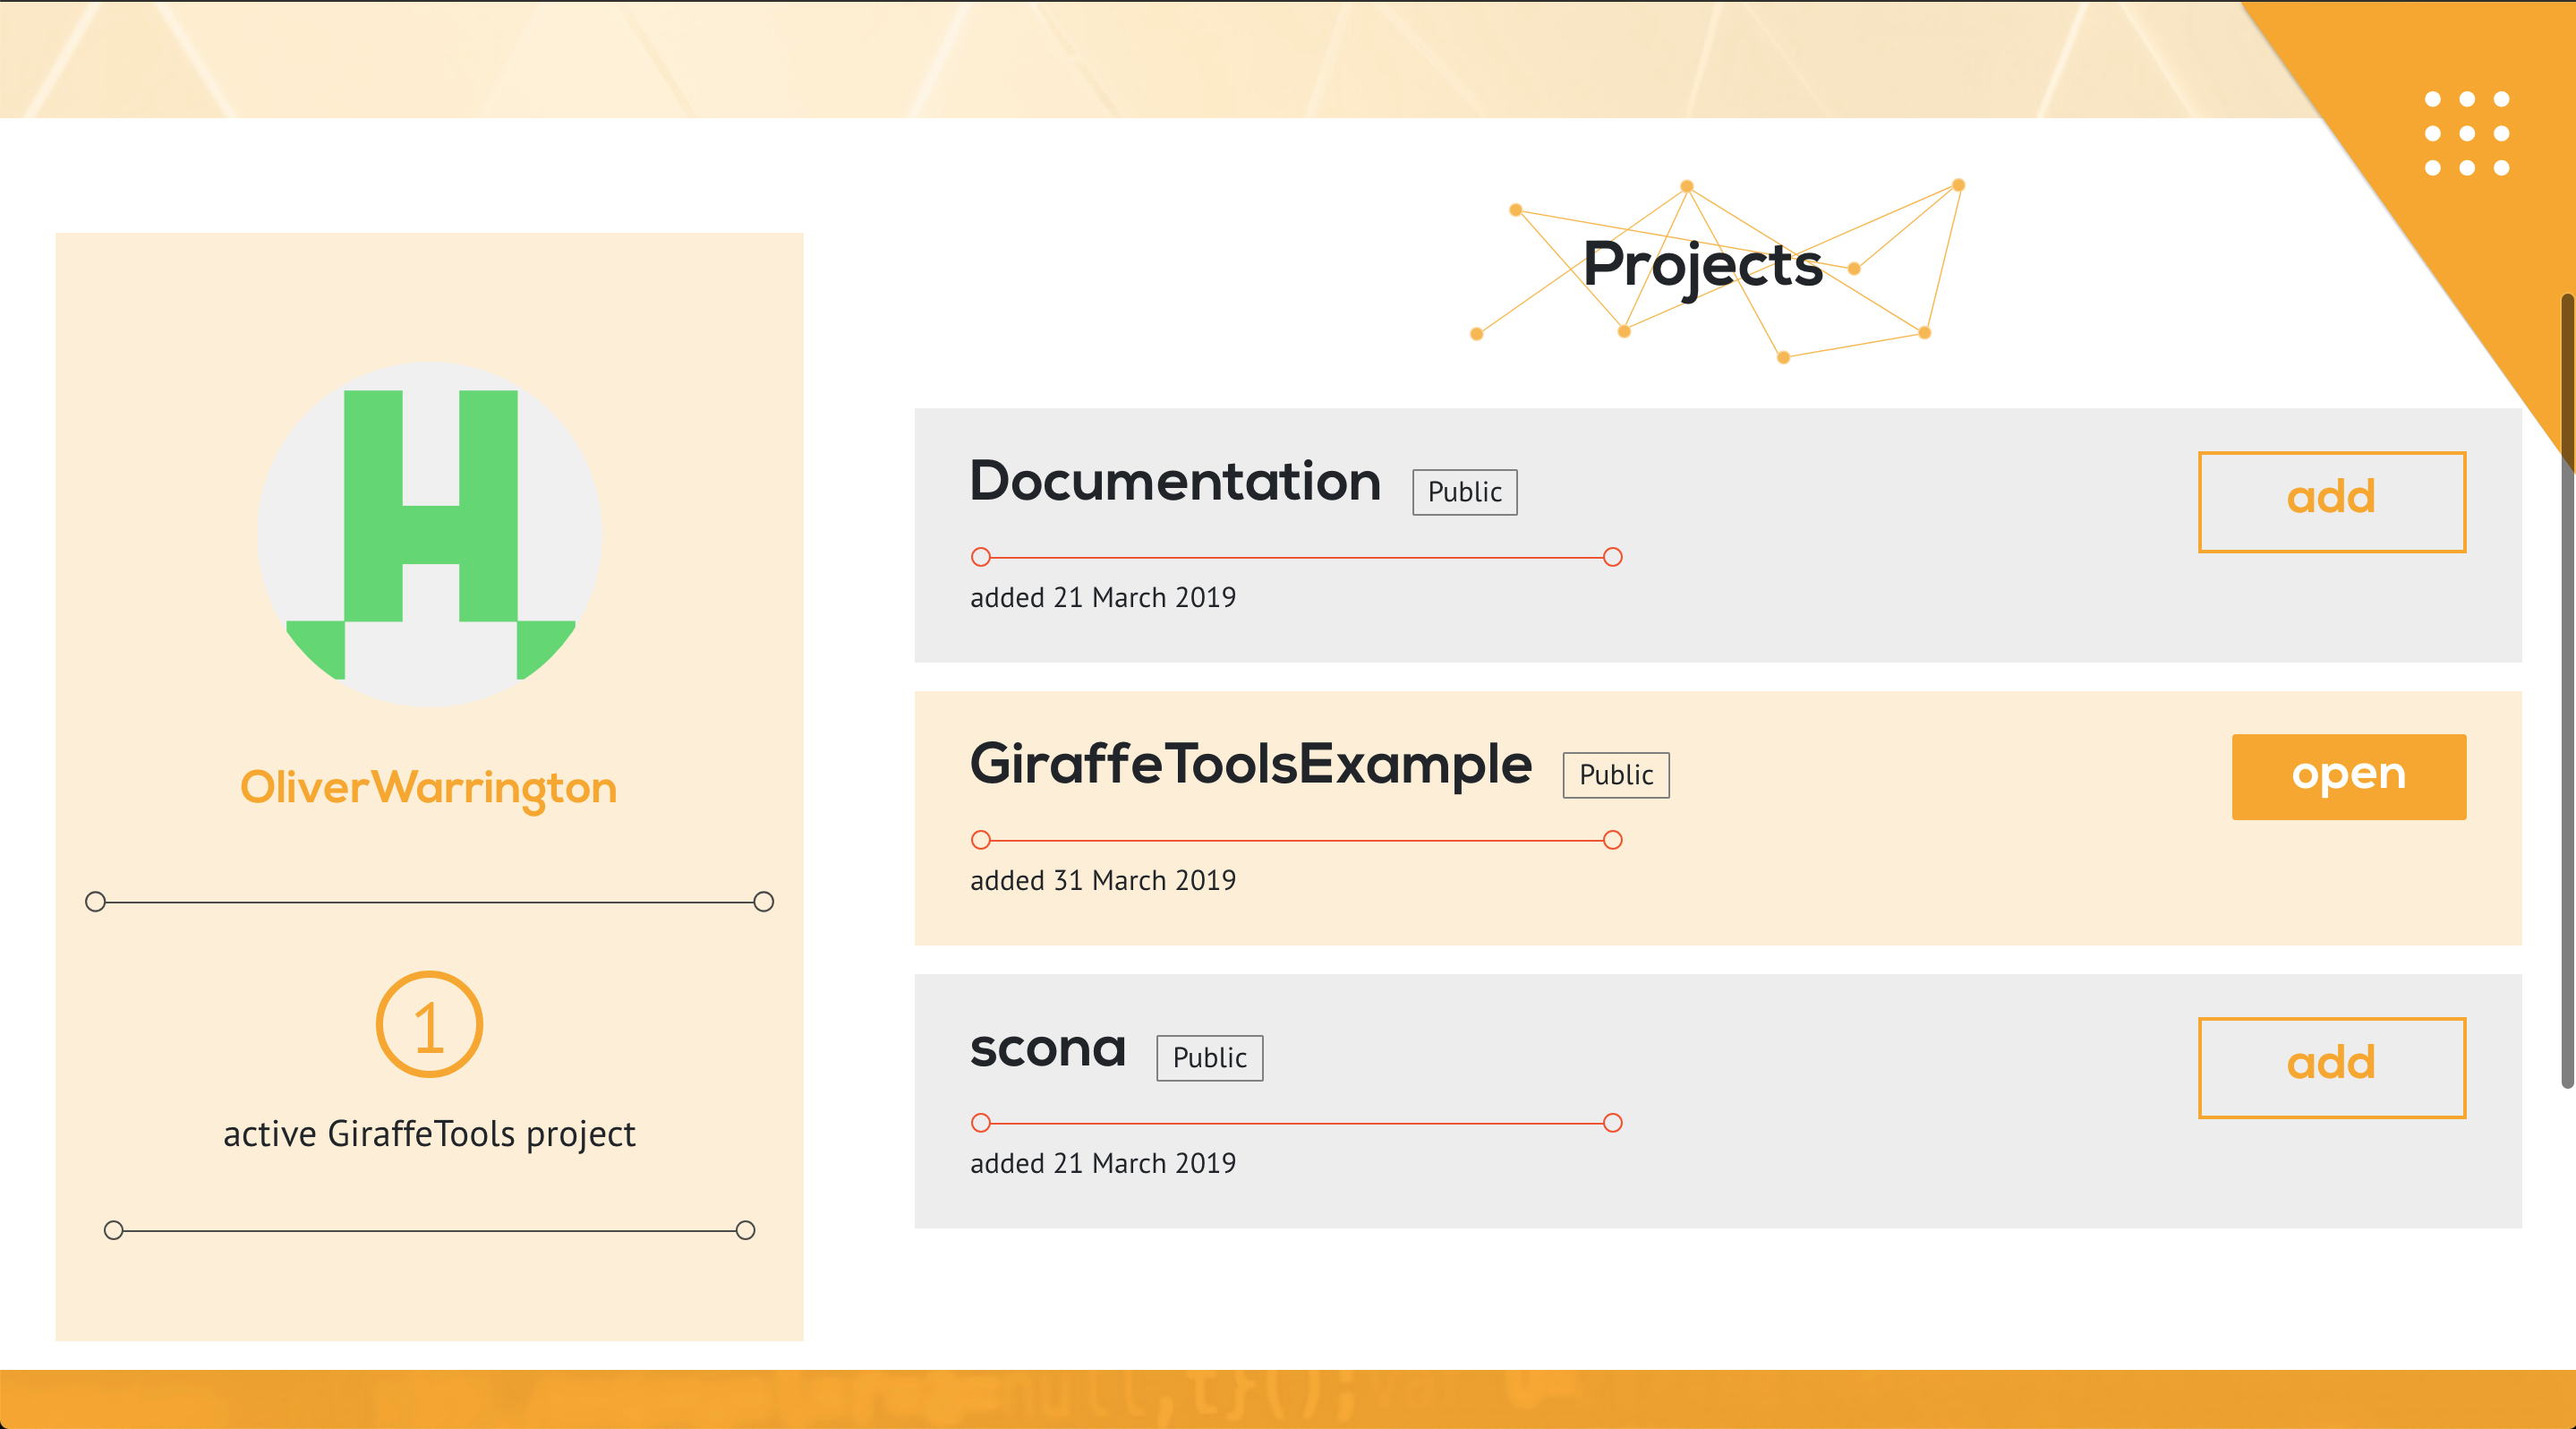
In “My Projects” you can see a list of your public GitHub repositories. The repository shown above is recognised by GiraffeTools as an active GiraffeTools project.
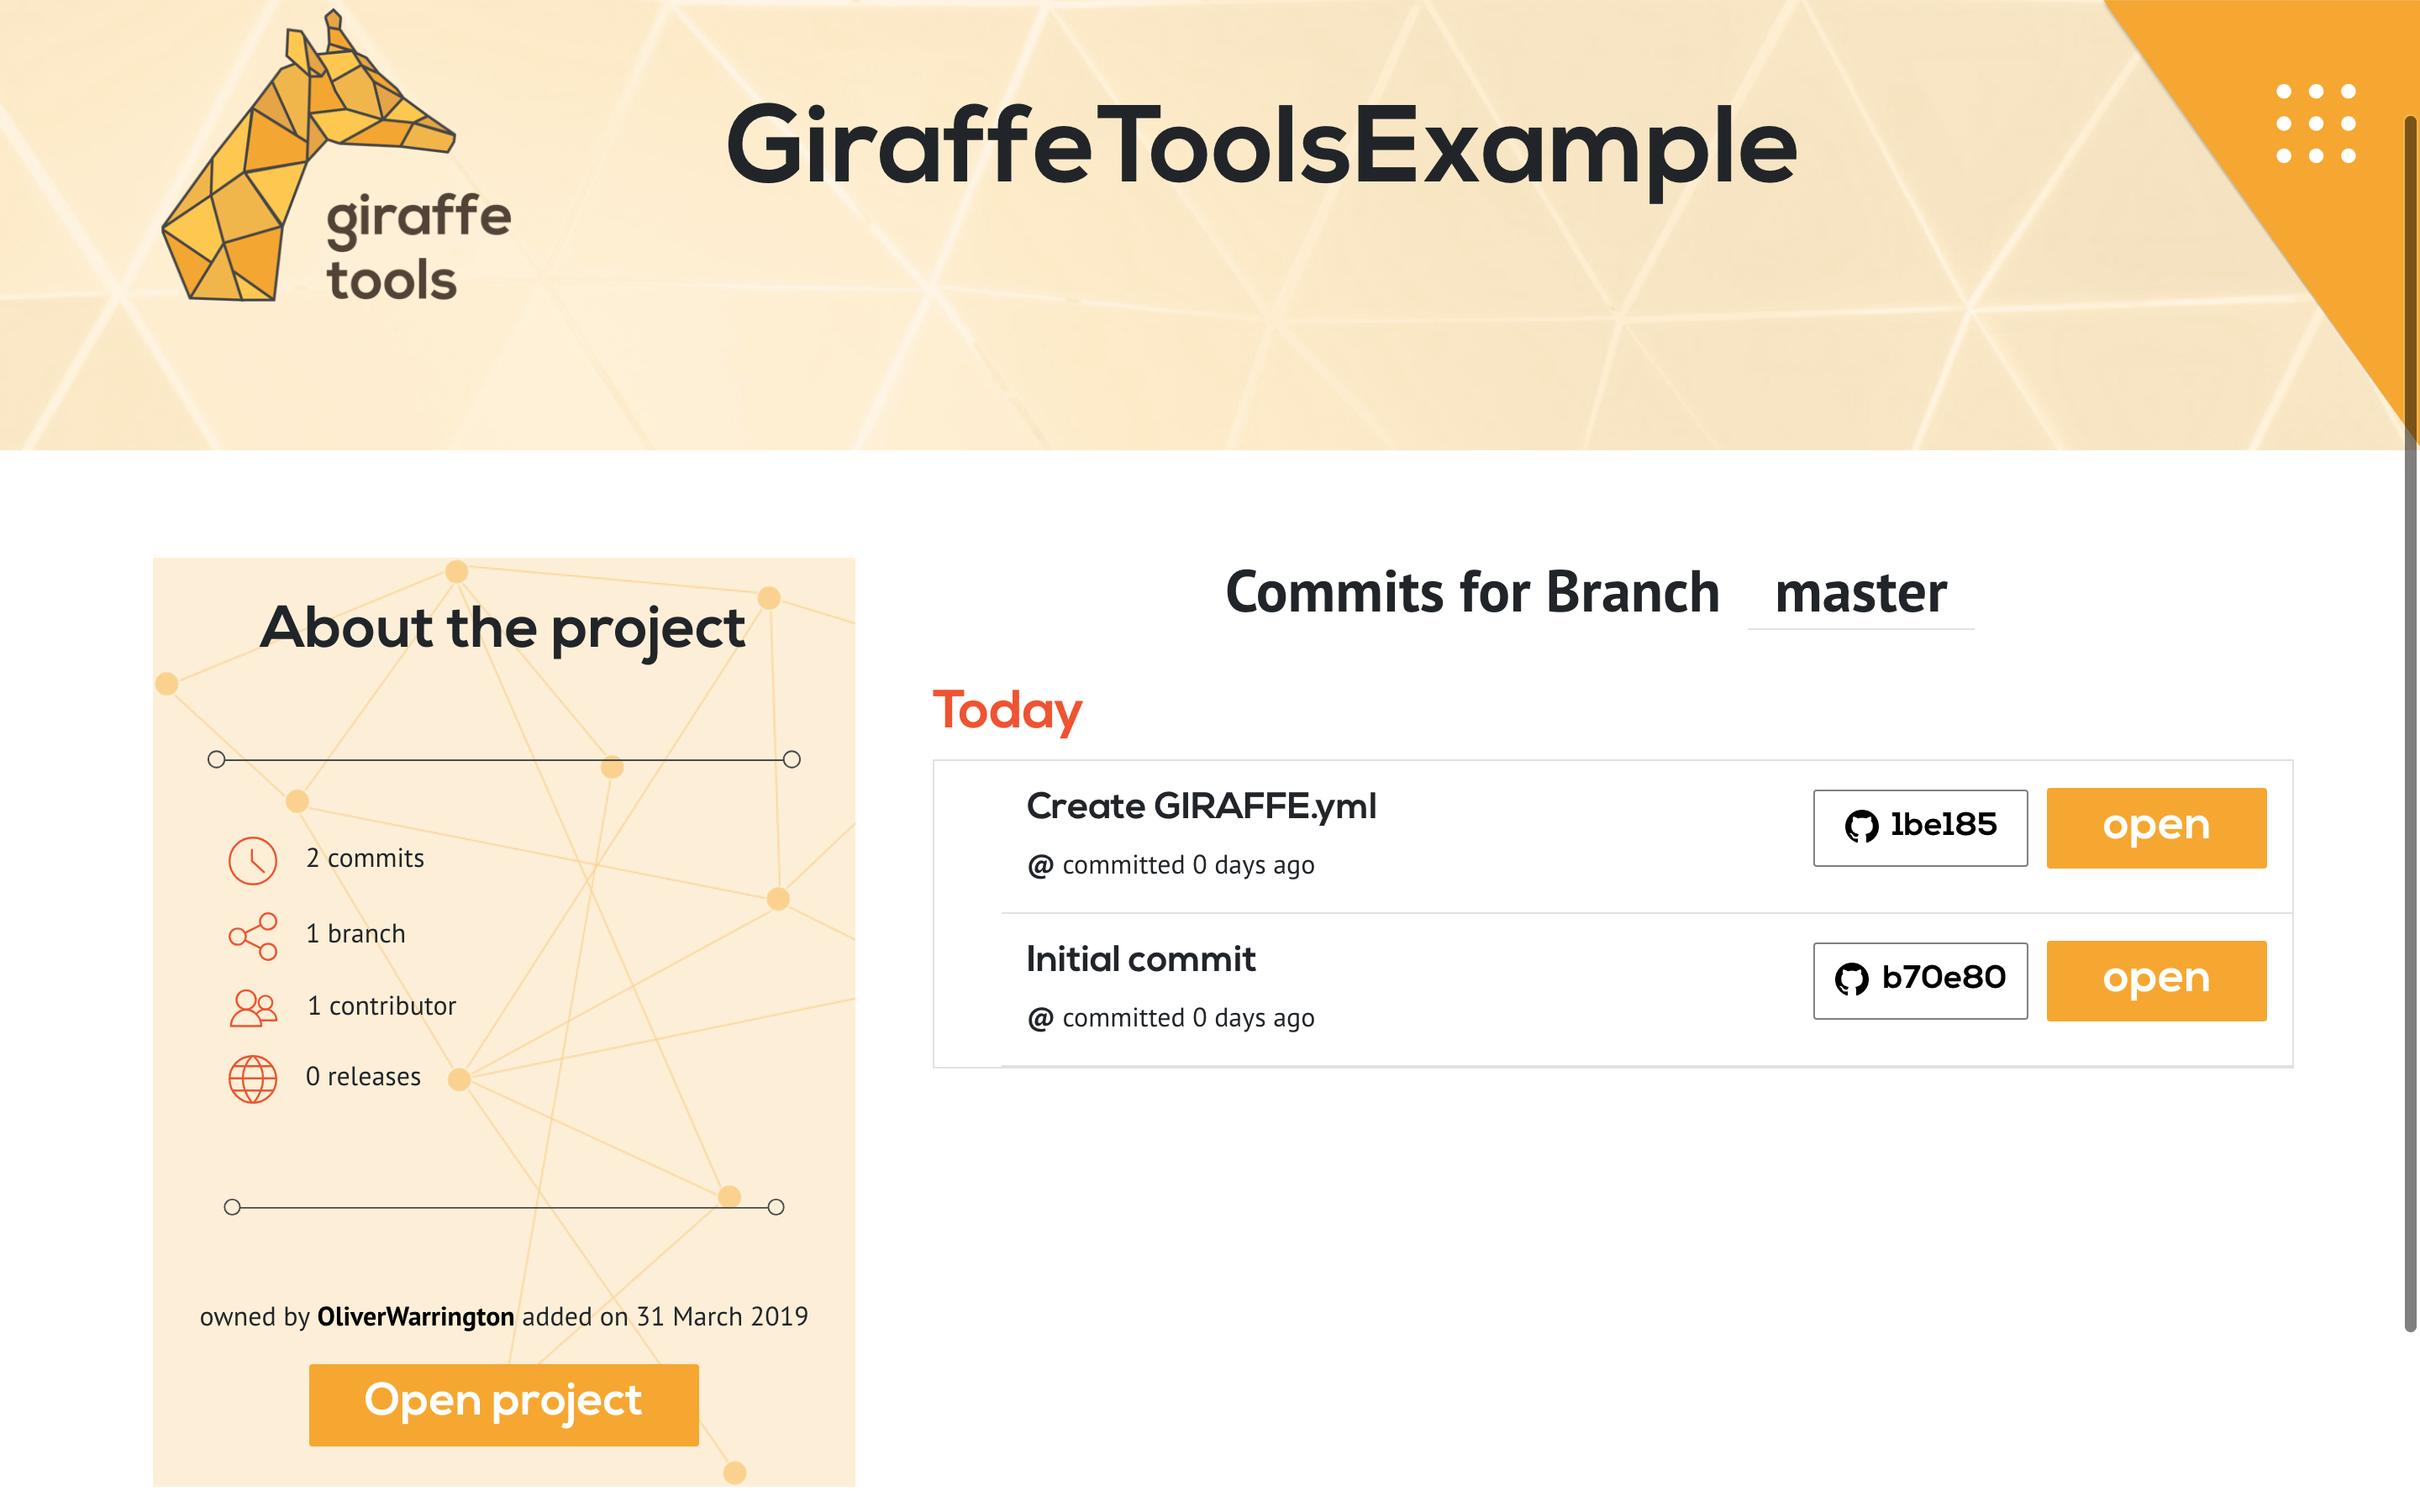
Clicking Open shows you an overview of the project, including any branches and commits.
“Open project” will take you to GiraffeTools GUI, allowing you to create a visual
analysis pipeline. This project is also available at:
https://giraffe.tools/github/$username/$repository/$branch.
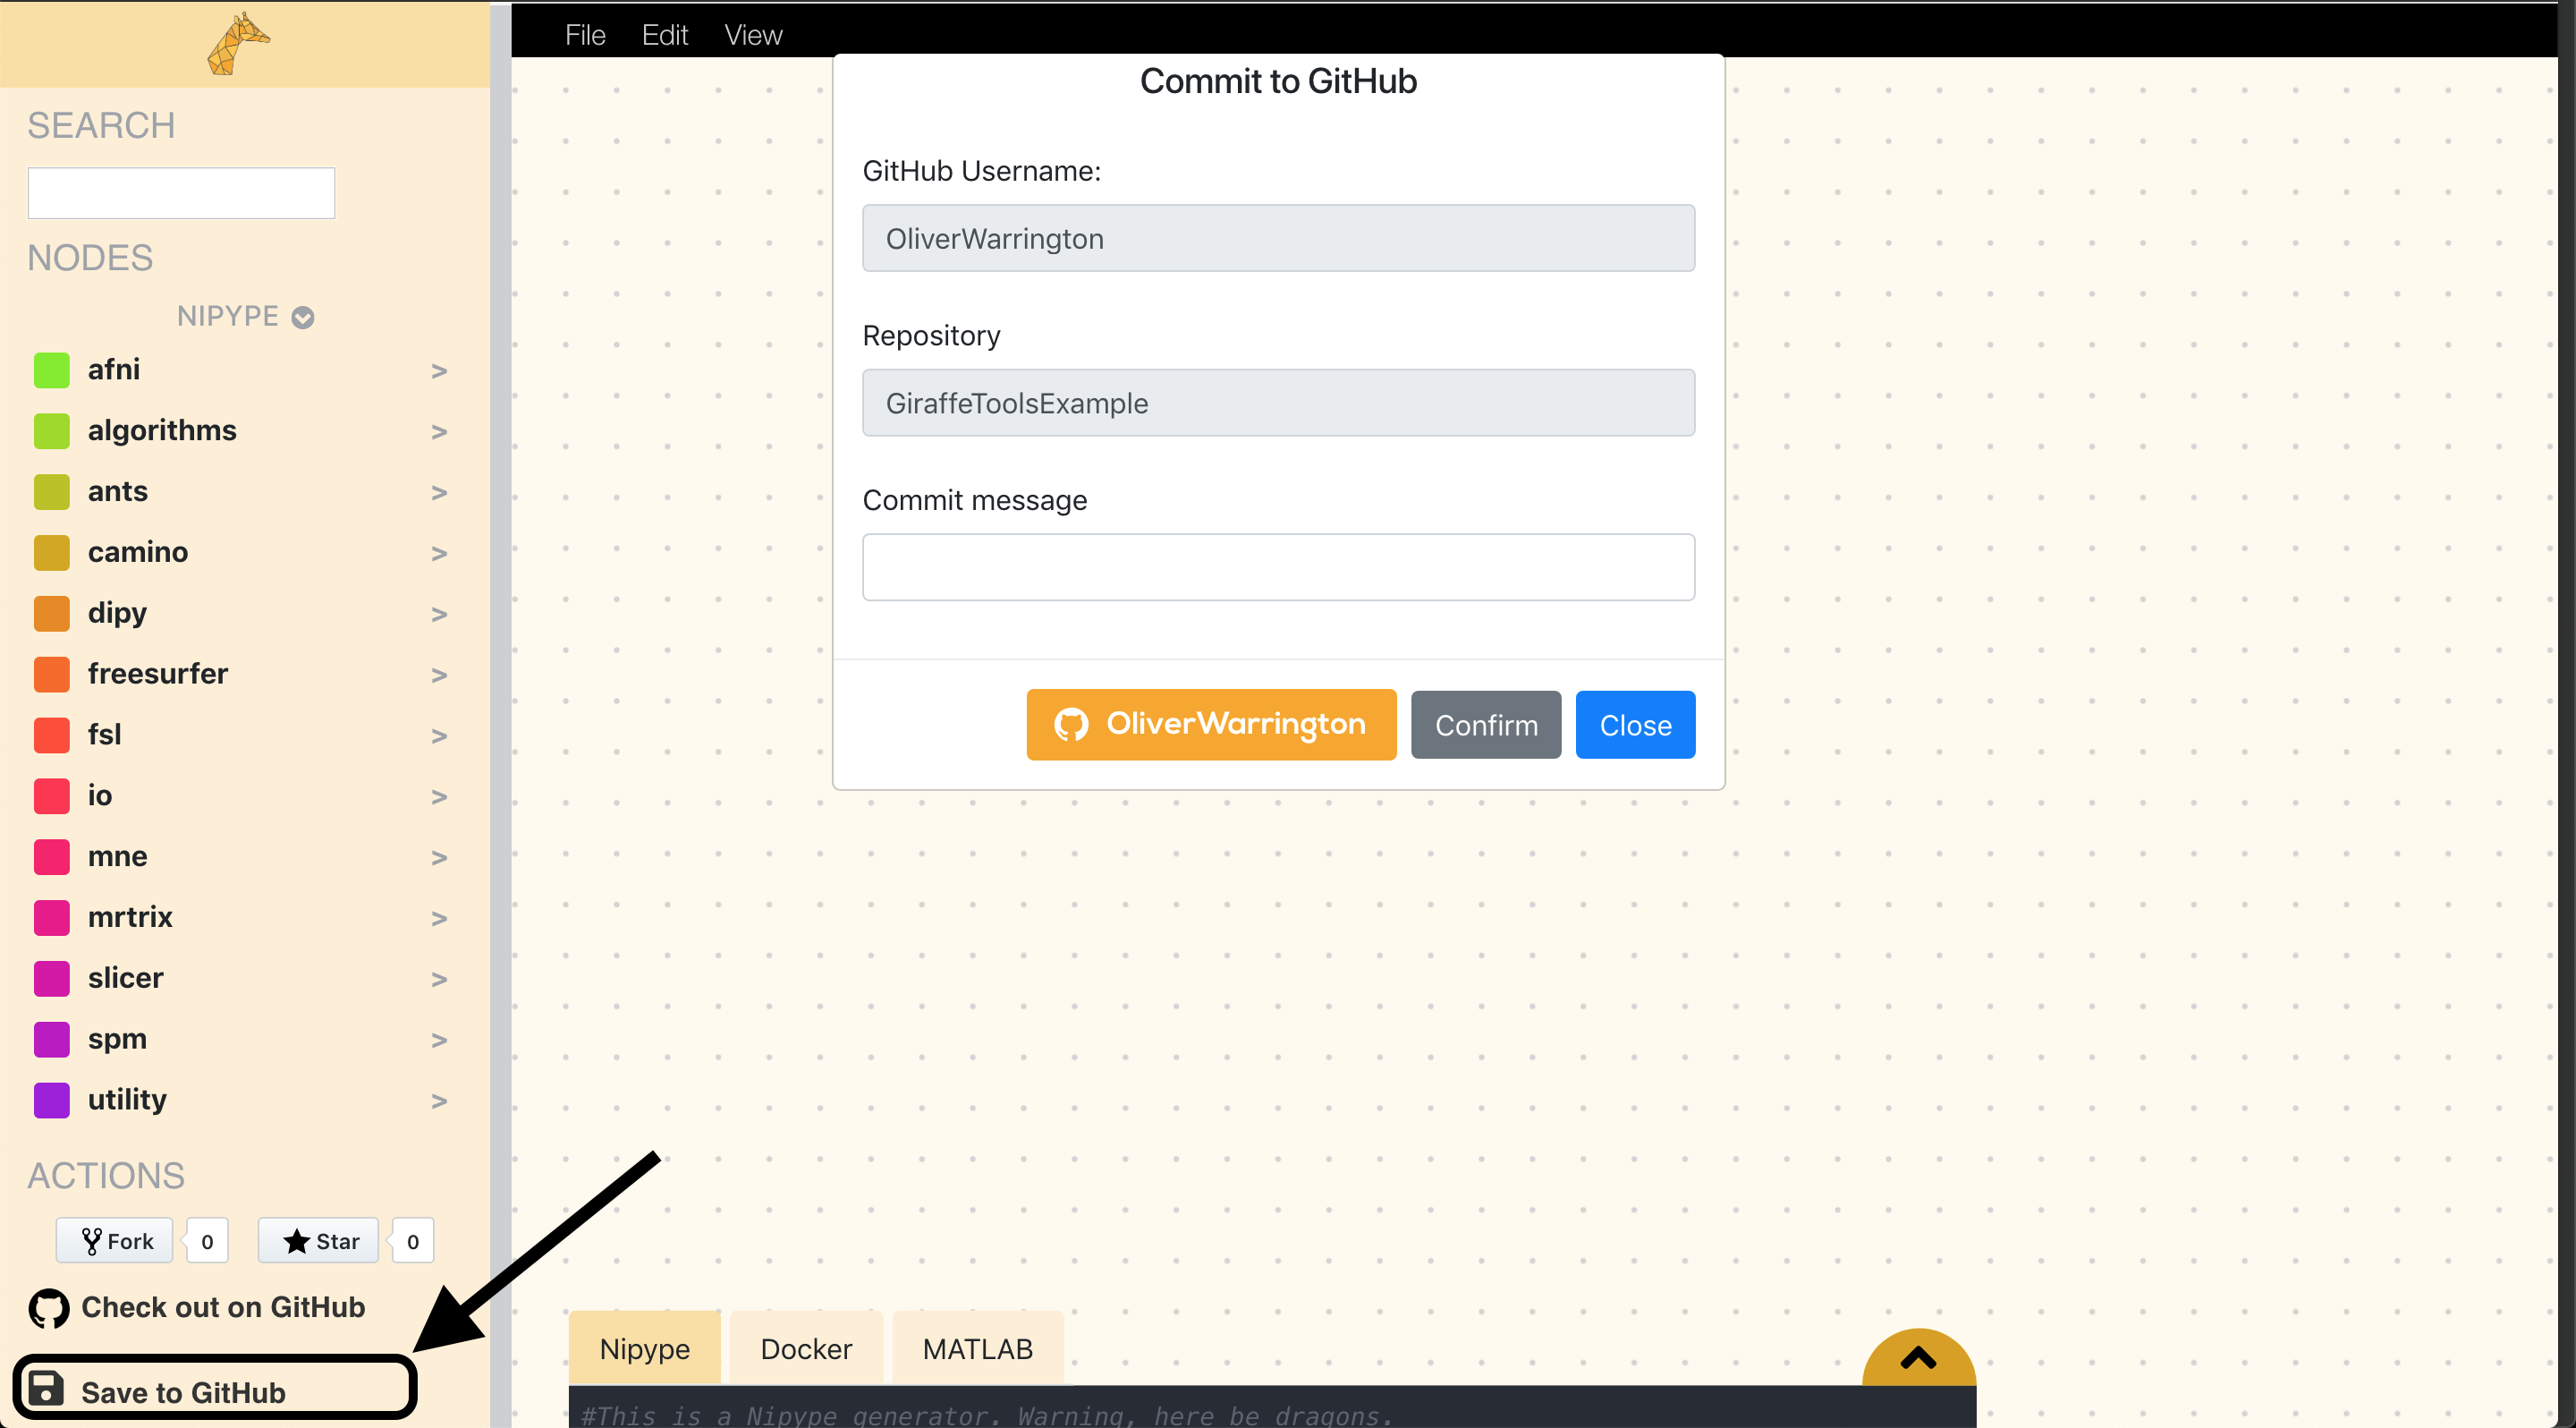
Any changes you make can be saved to your GitHub repository via the Save to GitHub button
underneath the node menu. A window will open allowing you to add an informative commit
message.
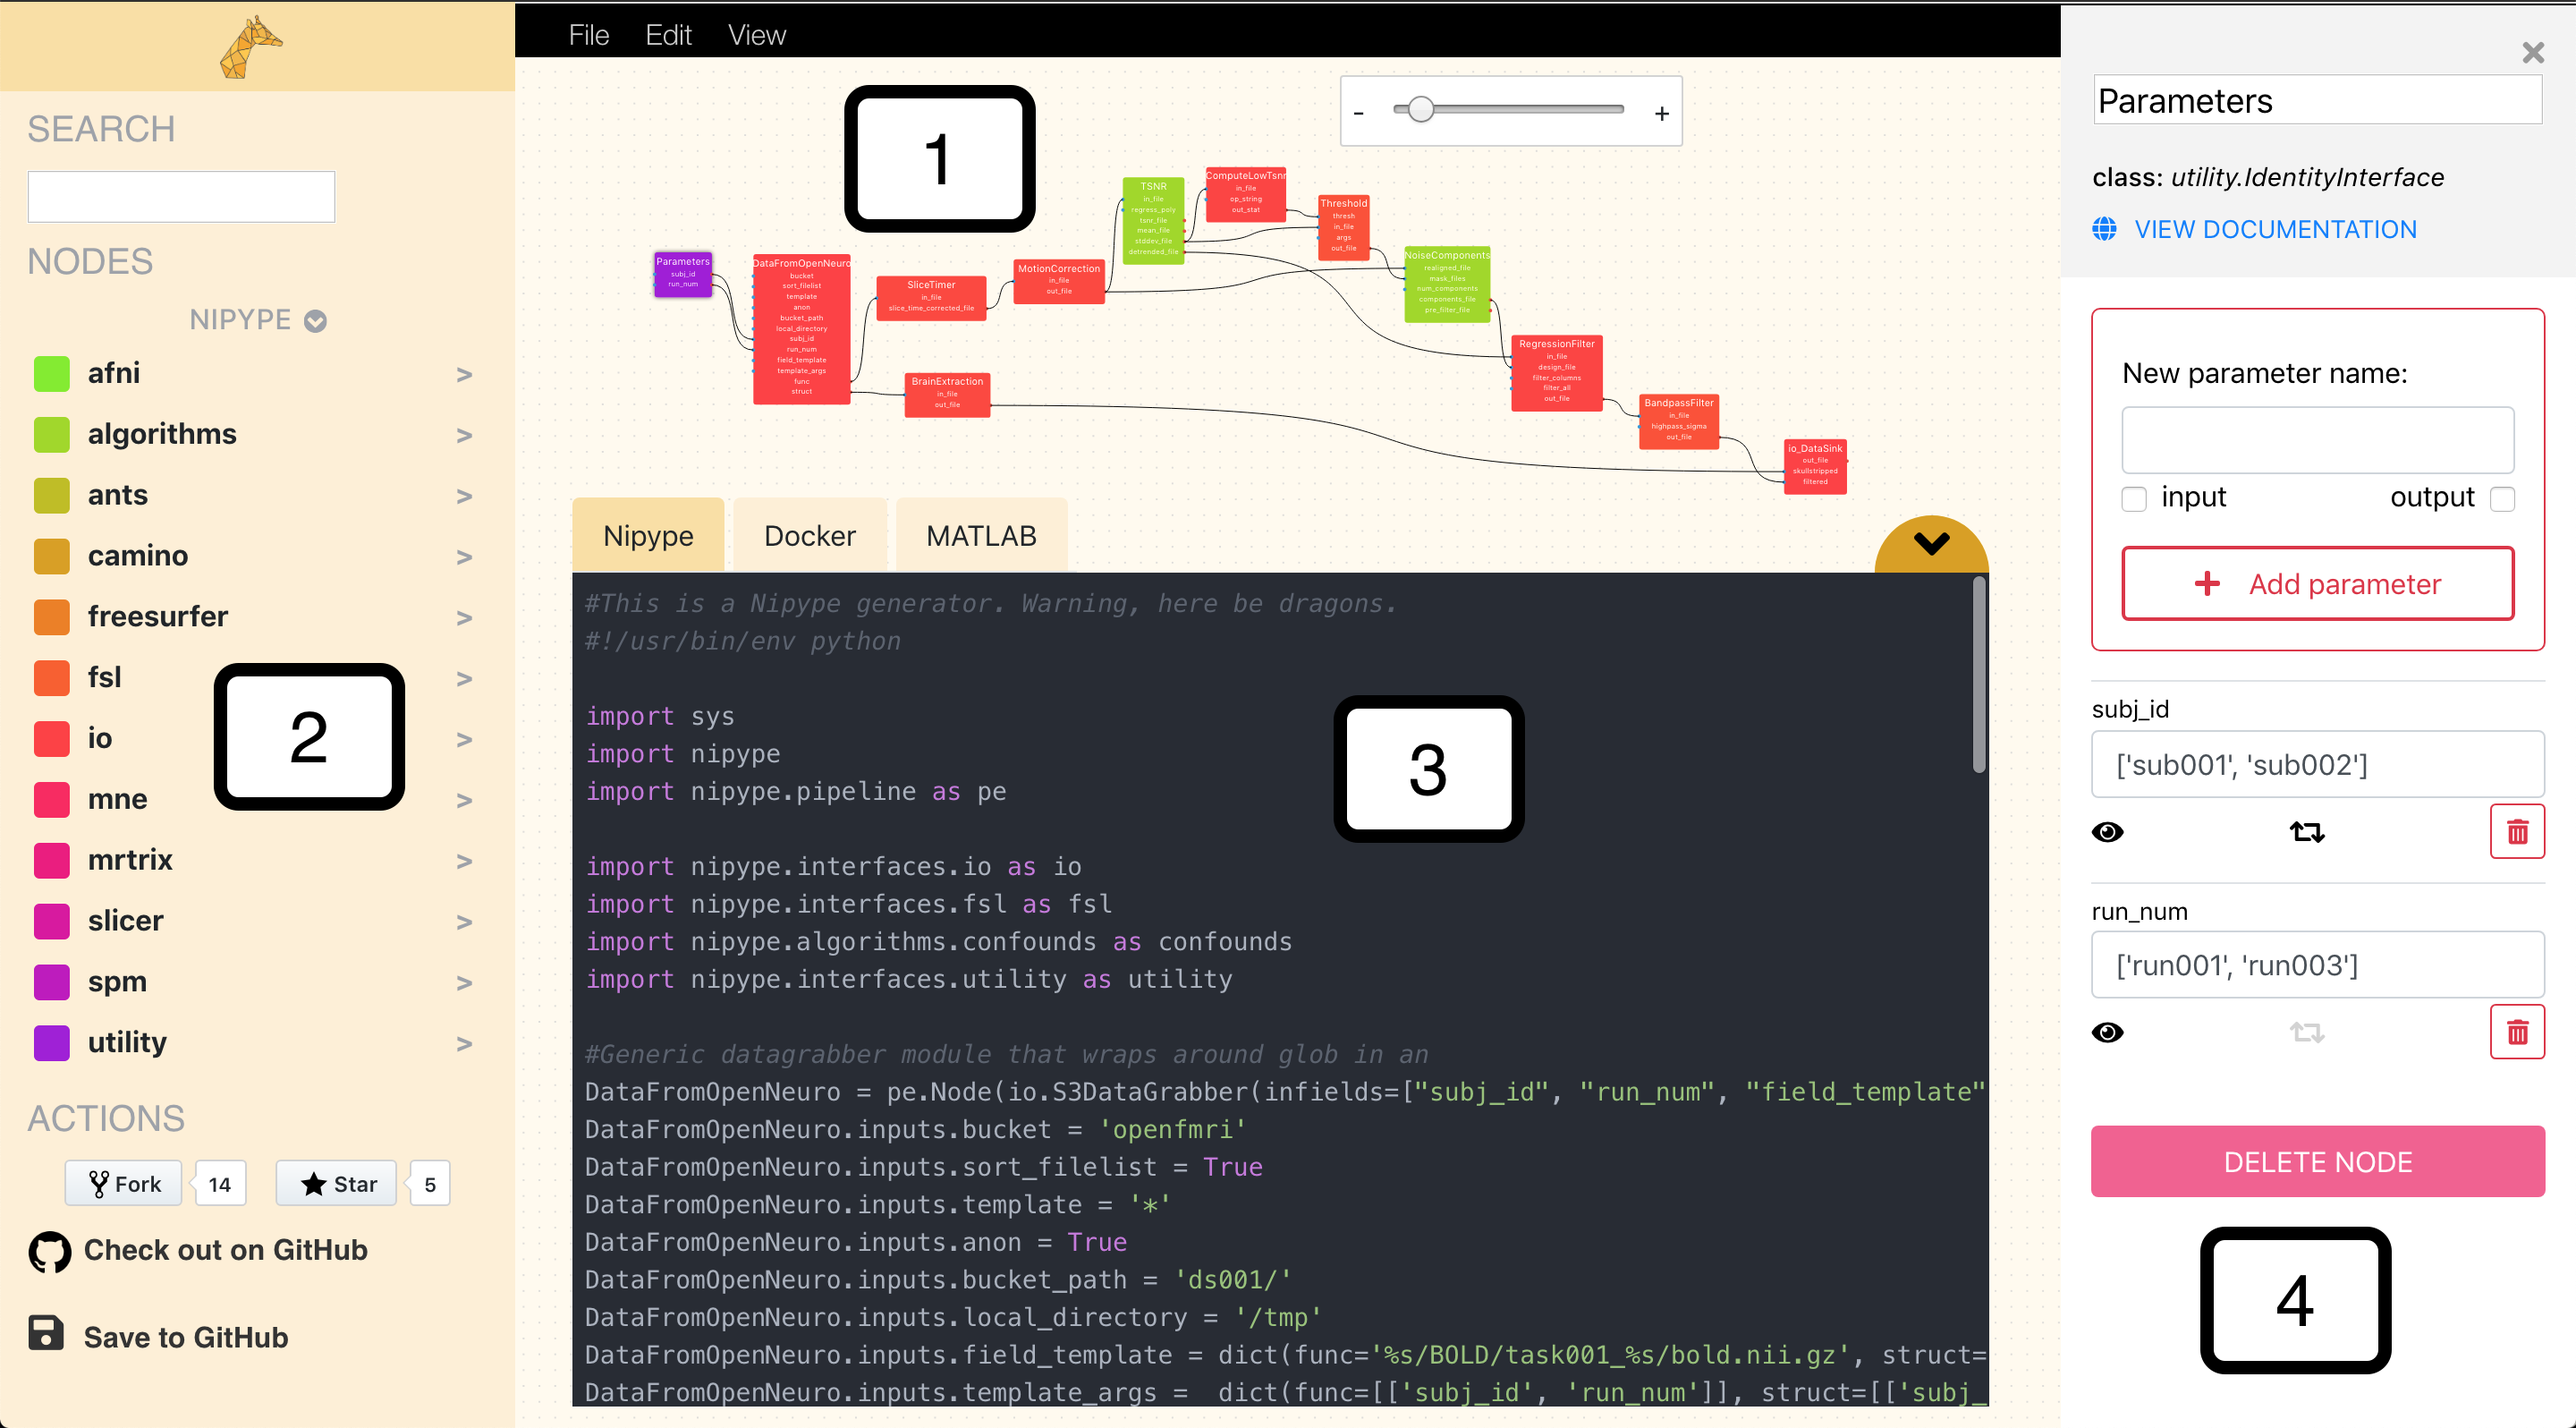
In order to effectively use GiraffeTools, you have to understand the different windows in GiraffeTools. In the figure below (click to enlarge), you see an example pipeline and its representation in GiraffeTools, which is split up in four sections:
- the workflow editor
- the node menu
- the code editor
- the parameter editor.
In the “Basics” section of the documentation, we’ll work you through the basics of GiraffeTools by explaining each window and how it relates to the process of building a fully functioning and reproducibly pipeline in GiraffeTools!