Creating, saving, loading, and exporting your pipeline
Once you’ve build your pipeline, you probably want to save the pipeline itself (i.e. the nodes, the values of their ports, and their connections) in addition to the Porcupine-generated code. Or maybe you got the hang of it and you want to create another pipeline rightaway! Creating, saving, and loading Porcupine-pipelines is of course easy to do in Porcupine.
Creating, saving and loading pipelines (pork-files)
When you hover over the File section of Porcupine’s menu (upper left), you’ll
see options to create, save, load, and export your Porcupine pipeline. Creating
a new pipeline will create another “tab” in the workflow editor, allowing you
to quickly switch between two or more existing pipelines.

Saving pipelines is as easy as selecting File > Save... in the menu-bar and
giving it a sensible name. Porcupine saves its pipelines with the .pork extension, but essentially
these files are just a big json-file, in which the nodes (and their location
on the workflow editor), their values, and the connections between them are
saved.
Exporting your an image of your workflow editor
Apart from saving the Porcupine-pipeline itself (the .pork-file), the associated
code (.py-file for Nipype-based pipelines), you can also save a (high-resolution)
image of your pipeline as depicted in the workflow editor. To do so, choose
File > Export as... in the menu-bar, and save your file with the desired
extension (i.e., saving a file as “.pdf” will create a PDF-file, and saving a
file as “.svg” will create an SVG-file).
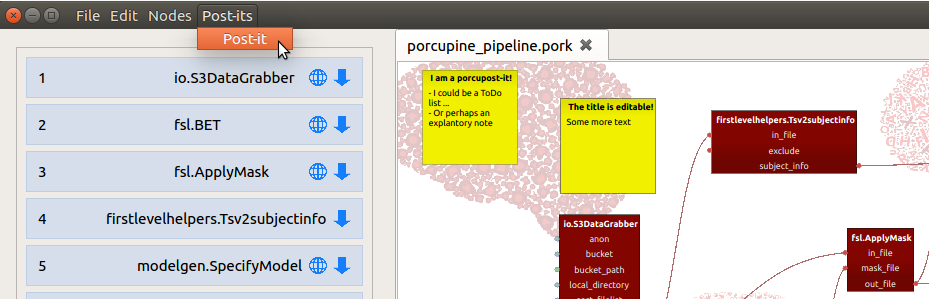
(Porcu)post-its!
Continuing our series of bad puns using the word Porcupine, we added the option to add post-its, or rather porcupost-its, to your workflow editor. Use it for ToDo-lists, explanatory notes, or whatever you deem it useful for!